Workflow: Create a Case Definition Template
After you create a case using the default template, the definition of the case can be customized and exported to make it easy to create future cases that share similar characteristics. The load file you create is an XML file with a file extension of .CSE. This file can be selected instead of the default template when creating your case in Case Management. The process of creating the .CSE file is executed within the Eclipse Admin module.
The Case Definition file contains the following case characteristics, but no case data. (A case definition file can be created whether or not data has been added to the case.) All characteristics can be imported into a new case; characteristics marked with an asterisk (*) can be imported into an existing case.
-
Database field definitions (field name and type)
-
Field-level security details
-
Redaction palette*
-
Tags (tag groups and tags)*
-
Relationship definitions*
-
Coding Forms*
-
Searches
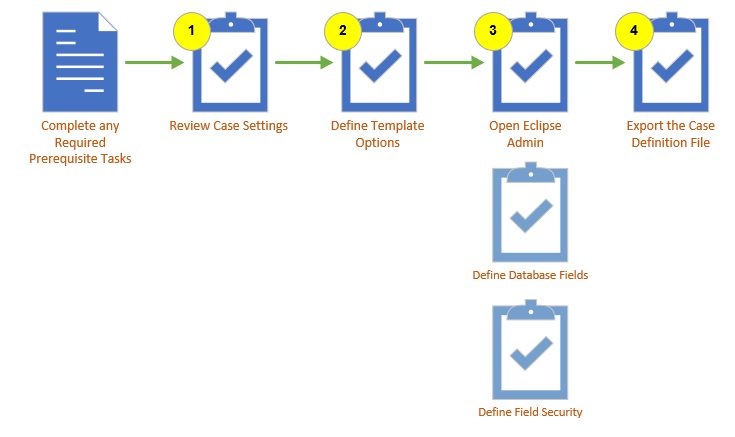
This topic contains high-level procedures to help you create a .CSE (Case Definition File) template. The following illustration shows the basic process outline. The numbers correspond to the procedures in this topic. You can click on the numbered steps in the image to jump to a specific task in the workflow.
Complete the Required Prerequisites
|
Task |
Notes |
Links |
|---|---|---|
|
Create Managing Client and Client |
Complete the process of creating your managing client and client. |
|
|
Create your Review Case |
Create your review case using the default case template. |
|
|
Review Database Fields |
Review the database field names. You can modify or add new fields in Eclipse Admin before creating a custom case definition template. |
Step 1: Review Case Settings
Open the case that you created from the default template and review all case settings to determine what definitions exist in the case. See Manage Review Case Settings for more information.
Step 2: Define Template Options
-
Select the options you would like to include in your Case Definition File template. The following options can be defined in this step:
-
Tag palette (tag groups and tags). For more information, see Manage Tag Palettes .
-
Redaction palette. For more information, see Manage Redaction Categories.
-
Relationship Definitions. For more information, see Overview: Relationships
-
Coding Forms. For more information, see Overview: Coding Forms.
-
Saved Searches. For more information, see Work with Saved Searches.
-
Step 3. Open Eclipse Admin
After you have defined your template options in the review case, the remainder of the tasks are performed in the Eclipse Admin module.
-
Start IPRO Eclipse Admin and log in.
-
On the Case Management ribbon, select Case Management.
-
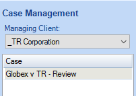
Select your Managing Client and Case.

 Define Database Fields
 corresponding
to the field to be edited. (You may need to scroll horizontally to find
this button.)
corresponding
to the field to be edited. (You may need to scroll horizontally to find
this button.)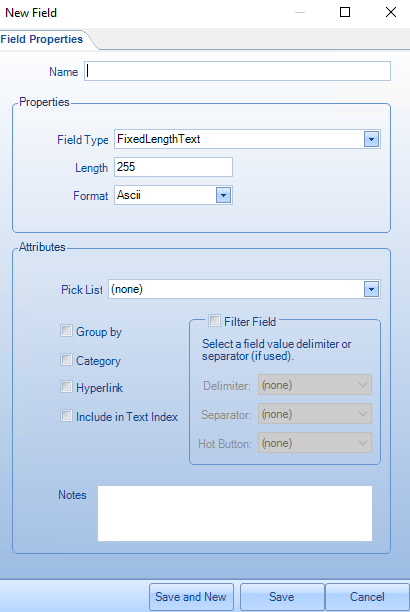
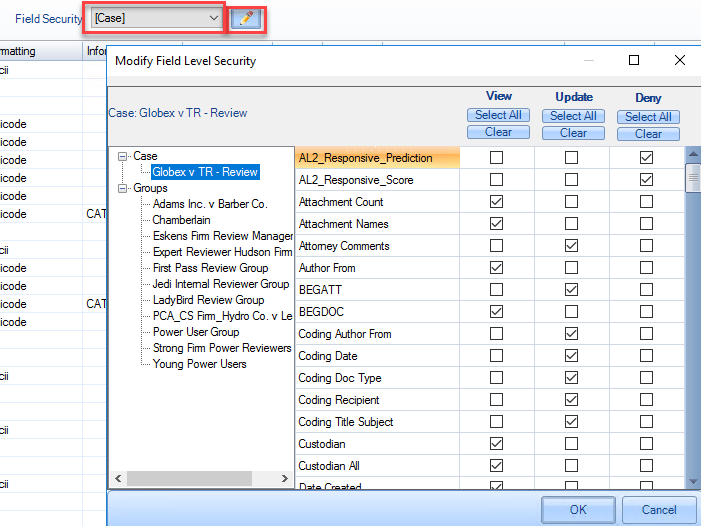
Define Field Security
 .
. 
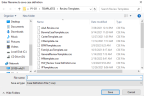
Step 4. Export a Case Definition file
-
Open the Eclipse Admin module. See Step 3. Open Eclipse Admin.
-
On the Case Details tab, select
 .
. -
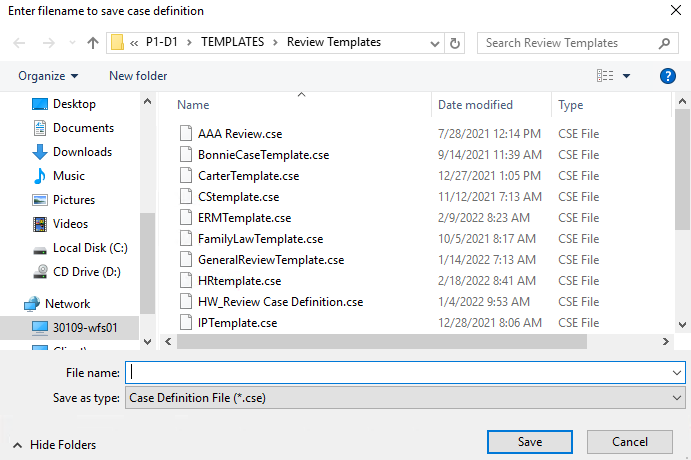
Enter a file name for your new template and save it to a location that is accessible when you create cases in review.
-
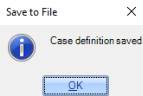
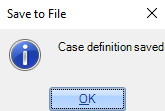
You will get a message that it has been saved. Click OK.

Note: You can also right-click the case whose definition is to be exported and select Save case definition to a file.

Related Topics